Remote IoT VPC Tutorial: A Step-by-Step Guide To Securely Connect Your Devices
Hey there tech enthusiasts! If you're diving into the world of IoT and cloud networking, you've probably come across the term "Remote IoT VPC." It’s a game-changer for connecting devices securely and efficiently. In this tutorial, we’ll break it down in simple terms so you can master the setup process without breaking a sweat. Whether you're a beginner or an experienced pro, this guide has got your back. So, buckle up and let’s get started!
Remote IoT VPC is more than just a buzzword in the tech world. It represents a powerful way to manage and secure your IoT devices through virtual private clouds. If you're looking to enhance your network's security and scalability, understanding VPCs and how they integrate with IoT is crucial. This tutorial will walk you through everything you need to know.
Before we dive deep, let’s quickly address why this topic matters. In today’s interconnected world, securing IoT devices is no longer optional—it's essential. A well-configured VPC can protect your devices from cyber threats while ensuring smooth communication. This guide will help you set up a remote IoT VPC like a pro, even if you’re new to the concept.
- Demond Wilson From Lamont Sanford To Minister A Fascinating Life
- Best Feelgood Movies Rebel Wilson More Your Guide
What is Remote IoT VPC?
Alright, let’s start with the basics. A Remote IoT VPC (Virtual Private Cloud) is essentially a private network environment hosted in the cloud. It allows IoT devices to communicate securely without exposing them to the public internet. Think of it as a fortress for your devices, where only authorized traffic can enter and exit.
Here’s why Remote IoT VPC is so important:
- It enhances security by isolating devices from the public network.
- It improves performance by reducing latency and optimizing data flow.
- It provides scalability, allowing you to add more devices as needed.
For businesses and individuals alike, having a secure and reliable way to manage IoT devices is crucial. A VPC ensures that your data remains private and your devices function smoothly, even when accessed remotely.
Why You Need a Remote IoT VPC
Let’s face it—IoT devices are everywhere. From smart home gadgets to industrial sensors, these devices are transforming how we live and work. But with great power comes great responsibility. Without proper security measures, your IoT setup could become a hacker’s playground.
A Remote IoT VPC offers several key benefits:
- **Security:** Protects your devices from unauthorized access and cyber threats.
- **Scalability:** Easily add or remove devices without compromising performance.
- **Flexibility:** Access your devices from anywhere in the world with minimal latency.
In short, a VPC is like having a personal IT team managing your IoT network 24/7. It’s a must-have for anyone serious about IoT security and performance.
Getting Started with Remote IoT VPC
Now that you understand why Remote IoT VPC is important, let’s talk about how to get started. The process might seem intimidating at first, but with the right steps, it’s totally doable.
Here’s a quick overview of what you’ll need:
- An IoT platform (e.g., AWS IoT Core, Azure IoT Hub).
- A cloud provider that supports VPCs (e.g., AWS, Google Cloud).
- Basic knowledge of networking concepts (subnets, IP addresses, etc.).
Don’t worry if you’re not an expert yet—we’ll cover all the details in the next sections. For now, just focus on gathering the tools and resources you’ll need.
Step 1: Setting Up Your VPC
Alright, let’s dive into the first step: setting up your VPC. This is where the magic happens. Your VPC will act as the backbone of your IoT network, so it’s important to get it right.
Choosing the Right Cloud Provider
First things first, you’ll need to choose a cloud provider. AWS, Google Cloud, and Microsoft Azure are all popular options. Each has its own strengths, so consider your specific needs before making a decision.
For example:
- **AWS:** Offers extensive documentation and a wide range of services.
- **Google Cloud:** Known for its strong AI and machine learning capabilities.
- **Azure:** Great for integrating with Microsoft products.
Once you’ve chosen a provider, create an account and navigate to the VPC dashboard. From there, you can start configuring your network.
Step 2: Configuring Subnets and Security Groups
Next up, you’ll need to configure subnets and security groups. These are crucial components of your VPC, as they determine how devices communicate with each other and the outside world.
Understanding Subnets
A subnet is a range of IP addresses within your VPC. You can think of it as a smaller network within your larger network. Subnets allow you to organize your devices and control traffic flow.
Here’s how to create a subnet:
- Log in to your cloud provider’s console.
- Go to the VPC dashboard and select “Subnets.”
- Click “Create Subnet” and enter the necessary details (e.g., CIDR block).
Setting Up Security Groups
Security groups act as virtual firewalls for your VPC. They control inbound and outbound traffic, ensuring that only authorized devices can access your network.
To set up a security group:
- Navigate to the “Security Groups” section in your VPC dashboard.
- Click “Create Security Group” and define the rules for inbound and outbound traffic.
- Assign the security group to your IoT devices.
With your subnets and security groups in place, your VPC is ready to go. Next, let’s talk about connecting your IoT devices.
Step 3: Connecting IoT Devices to Your VPC
Now that your VPC is set up, it’s time to connect your IoT devices. This step involves configuring your devices to communicate with your VPC securely.
Using IoT Platforms
Most cloud providers offer IoT platforms that make it easy to connect devices to your VPC. For example, AWS IoT Core allows you to register and manage devices through a simple interface.
Here’s how to connect a device using AWS IoT Core:
- Create a thing (a representation of your device) in the AWS IoT console.
- Generate certificates and keys for secure communication.
- Download the necessary software to your device and configure it to connect to AWS IoT Core.
Once your device is connected, it can communicate with other devices in your VPC and access cloud resources securely.
Step 4: Testing and Troubleshooting
Before you declare victory, it’s important to test your setup and troubleshoot any issues. This step ensures that everything is working as expected and helps you identify potential problems.
Testing Your VPC
To test your VPC, try the following:
- Send a test message from one device to another within the VPC.
- Check the logs for any errors or warnings.
- Verify that your security groups are functioning correctly.
If everything works as expected, congratulations—you’ve successfully set up a Remote IoT VPC!
Advanced Tips for Optimizing Your VPC
Once you’ve mastered the basics, you can take your VPC to the next level with some advanced tips and tricks. Here are a few ideas:
- Implement multi-region deployments for improved reliability.
- Use NAT gateways to allow devices to access the internet without exposing them.
- Set up monitoring and alerting to stay on top of potential issues.
These techniques can help you optimize your VPC for maximum performance and security.
Common Challenges and How to Overcome Them
Let’s be real—setting up a Remote IoT VPC isn’t always smooth sailing. Here are some common challenges you might face and how to overcome them:
- **Network Configuration Issues:** Double-check your subnet and security group settings.
- **Device Connectivity Problems:** Ensure that your devices are properly configured and have the necessary certificates.
- **Performance Bottlenecks:** Optimize your VPC settings and consider using a content delivery network (CDN) for faster data transfer.
By addressing these challenges head-on, you can ensure a smooth and successful deployment.
Conclusion: Take Your IoT Setup to the Next Level
And there you have it—a comprehensive guide to setting up a Remote IoT VPC. Whether you’re a beginner or an experienced pro, this tutorial has provided you with the tools and knowledge you need to secure your IoT devices and optimize your network.
To recap:
- Understand what a Remote IoT VPC is and why it’s important.
- Set up your VPC by configuring subnets and security groups.
- Connect your IoT devices and test your setup thoroughly.
- Optimize your VPC for maximum performance and security.
Now it’s your turn to take action. Share this article with your friends and colleagues, leave a comment below with your thoughts, and don’t forget to explore our other tutorials for more IoT goodness. Happy networking!
Table of Contents
- What is Remote IoT VPC?
- Why You Need a Remote IoT VPC
- Getting Started with Remote IoT VPC
- Step 1: Setting Up Your VPC
- Step 2: Configuring Subnets and Security Groups
- Step 3: Connecting IoT Devices to Your VPC
- Step 4: Testing and Troubleshooting
- Advanced Tips for Optimizing Your VPC
- Common Challenges and How to Overcome Them
- Conclusion
- Freddie Highmore Child Family Autism What You Need To Know
- Homer James Jigme Gere Height Age More All You Need To Know
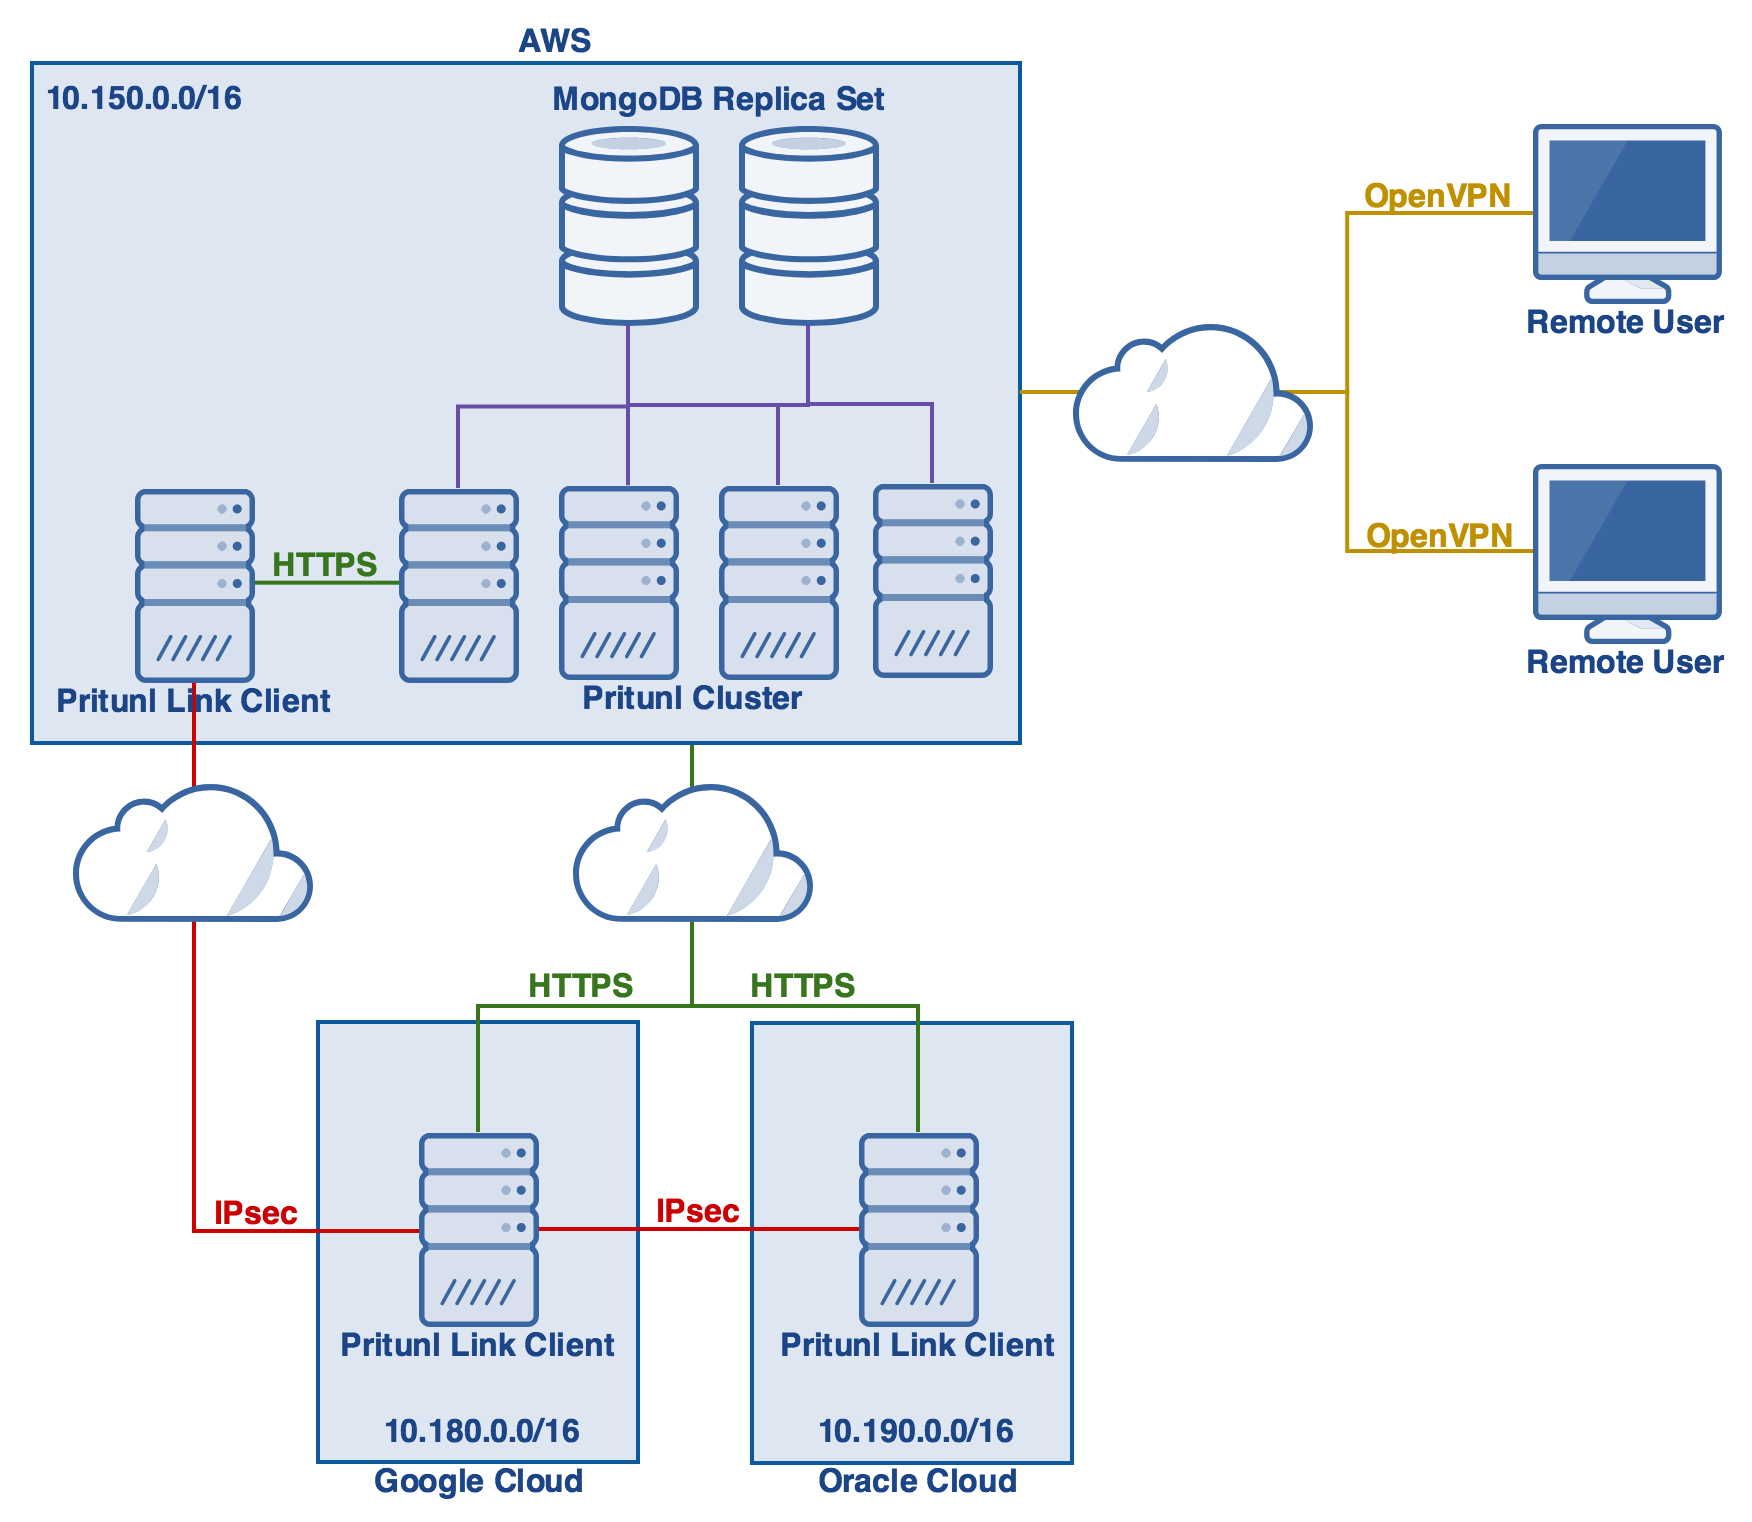
Pritunl MultiCloud VPC Peering

Remote IoT VPC SSH Raspberry Pi AWS Download A Comprehensive Guide

Raspberry Pi + Remote IoT VPC A Comprehensive Review
